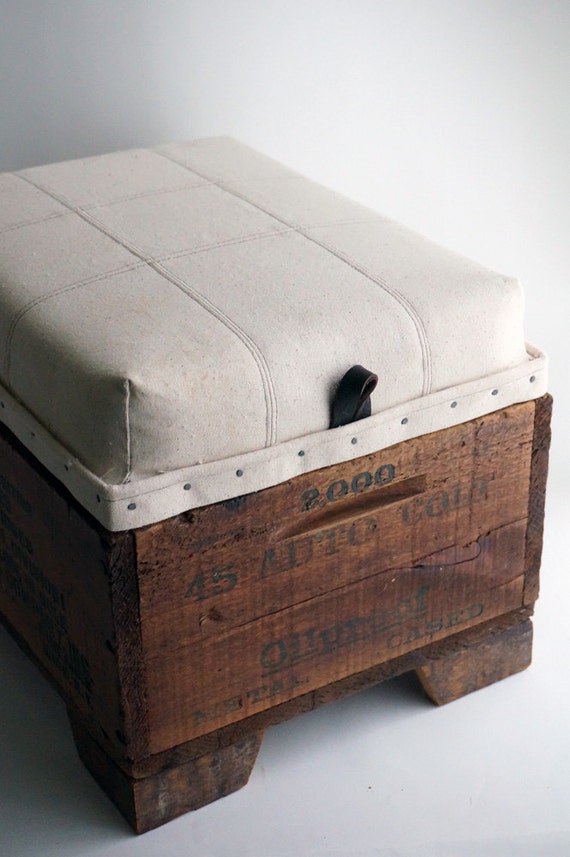
OK, first things first, we need to clean this little box up! With a wet sanding block, I'm going to go over some of the spots that have paint on them... then I'll go over the whole thing lightly, being sure not to lose any of that original printing! Even though this box is pretty dirty, a simple wipe up with a wet rag is really all that's needed to clean it up after a light sanding.

Next, I'm going to create an upholstered lid to sit on top of the box... and hide all the stuff inside! For this I'll measure the box top and cut a piece of wood that matches (I want the top to sit flush on top). Next I'll cut and upholster the bottom of the lid, then flip it over and set upholstery foam on the top. I'm using 2 inch foam here, so that this will double as an ottoman or footrest (or small pet bed if your family is like mine).


To the sewing machine!
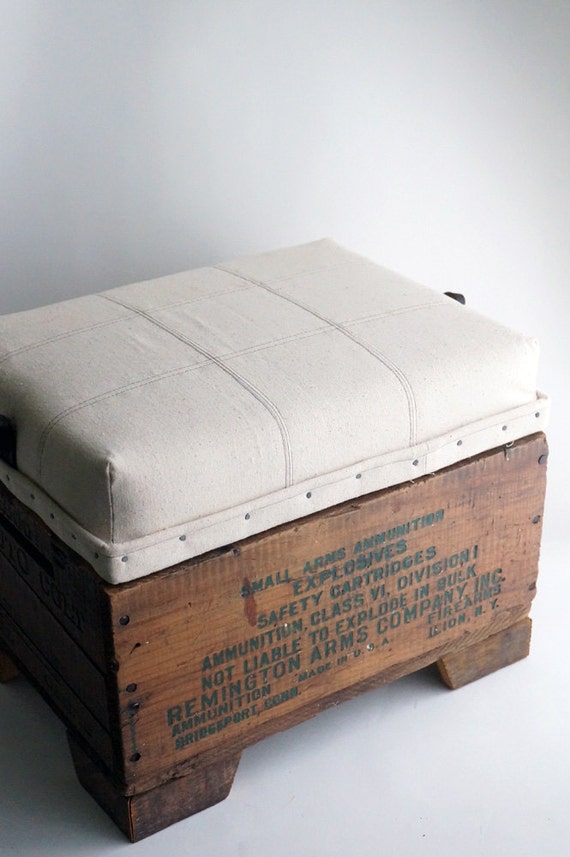
I have a vision for the top: square patchwork canvas, accented with deep brown top stitching along the seams. I'll measure and stitch 9 pieces, iron the seams flat, and then top stitch. Next, I'll go ahead and staple to the lid, covering the foam. To finish it off, I'll add a piping trim around the edge in the same canvas with the same top stitching accent... and of course, attach it with the nail head trim!
I have a vision for the top: square patchwork canvas, accented with deep brown top stitching along the seams. I'll measure and stitch 9 pieces, iron the seams flat, and then top stitch. Next, I'll go ahead and staple to the lid, covering the foam. To finish it off, I'll add a piping trim around the edge in the same canvas with the same top stitching accent... and of course, attach it with the nail head trim!


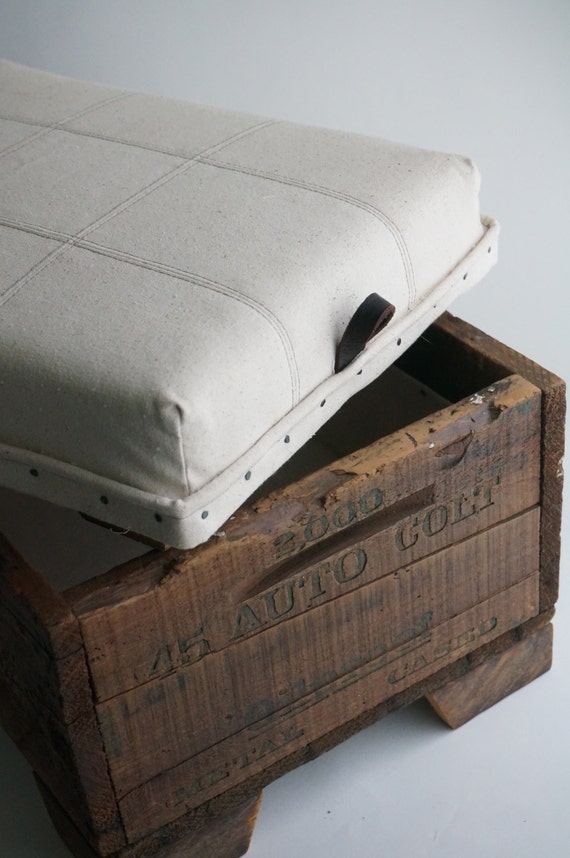
But how will the lid stay on the box? Well I could use a hinge, but that's not quite in keeping with the rustic feel of this piece. So I'm opting for 2 simple pieces of wood on the bottom of the lid that will fit just inside the box, and keep the top from sliding off. And to make it easy to lift the lid, I'll add a small leather pull on each end.


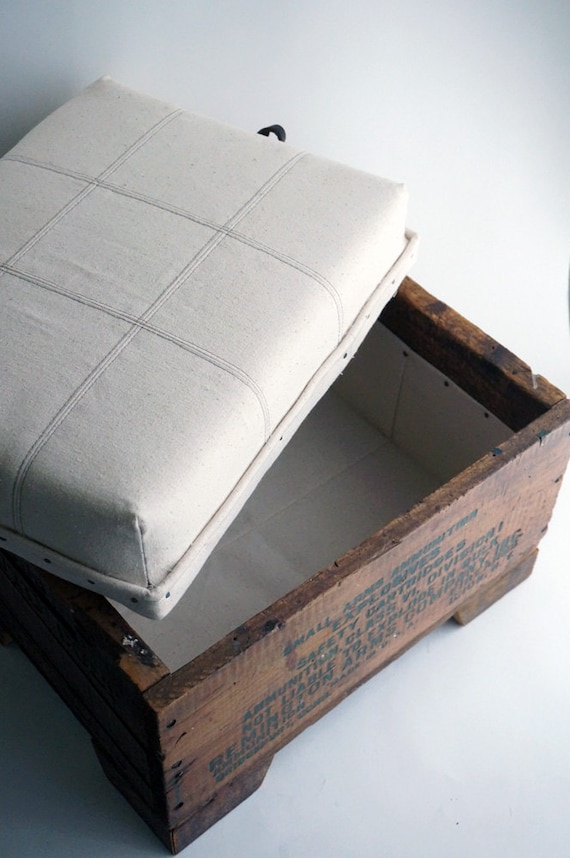
The last bit of upholstery to add is the box lining. Even though we did a thorough cleaning, there are some gaps in the wood (and even a small hole) that make this less than ideal to hold our stuff. A nice new canvas lining fixes all those concerns, and gives it a fresh new look! I'll start by adhering a heavy interfacing to my canvas, which will double the thickness and durability of this fabric. Next I'll measure and cut, placing it in to make sure it's just right. And finally, I'll attach the lining using our favorite upholstery nails!


And that just leaves the legs!
Again, here we have options... leave the box as is, add height with some store bought legs, or make some legs with scrap barn wood. Yup, barn wood it is! I have a number of barn wood planks, and tobacco slats, just waiting for the right project. For this, I'm going to use 2x4 as the base of the leg. Then I'll "face" it with tobacco slats. This ensures the legs are sturdy enough to hold the weight of our stuff, but have the look we're going for: old, worn, and weathered wood. I think these slats are the perfect match!


Lastly, a clear coat of varnish protects this finished piece from the years of use to come!
Well that's my wooden crate transformation. Ready to make your own? Awesome... be sure to come back and let me know how it went! Not ready yet, but like what you see... that's great too, because you can actually find vintage and handmade items like this one in my etsy shop right now ;D
OK, that's all for now; on to the next project! Want to know what it is? Follow me on twitter for sneak peeks and updates! If you're just looking for DIY inspiration, stayed tuned @ dawntoussaint.com for more on my DIY projects through the year! If you're looking to get some of the items you've seen here, on twitter, or on my boards, check out my etsy shop!
No comments:
Post a Comment