
First let's talk tools
In terms of paint there are lots of different options, but really this is about using what's on hand. I'm starting with sharpie's; but you could also use paint pens, and old nail polish... in addition to the stones, I also had a sanding pad on hand.
OK, let's do this!
What's common in terms of design?
Mandala or rosette pattern
These are some of the most beautiful patterns, that start out so simply! you can make them as casual or as structured as you like; I prefer a more organic structure, following the lines of the stone. Simply start by marking a rough circle in the center of the stone, and work your way to the outer egdes.
Animal prints
This could be anything from leopard spots, to ladybug, to snake skin... It could even be an actual animal portrait, or silhouette.
Typographic treatment
Sometimes we need a little reminder... choose an inspirational word or phrase to keep on your desk, bed side, or to give to a friend! Here are some I've seen: hiya, hello, home, relax.
So here's my process...
I like to keep this simple, and keep the natural quality of the stone. (Too much is sometimes too much) So first I'm going to use a pencil to lightly sketch out my design. Next, I'm going to use a sharpie (but you can use paint of your choice) to redraw the sketch. I don't have to worry about getting it perfect at this point, because the next step is to sand the image down. This does a few things: removes the pencil marks, cleans up the surface of the stone, and fades back the ink that I just put down. This allows me to go back and touch up any lines I wasn't totally happy with... it also gives my a much cleaner image to work from if I want to go back over it with something else, say gold paint!
That's it!
Now you have a piece of art for the mantel, desk, or book shelf. They make great weights for all your summer picnics, for table cloth or napkins. These also make great gifts!
OK, let's see how yours turned out! Feel free to comment below, or find me on twitter, pinterest, or instagram!
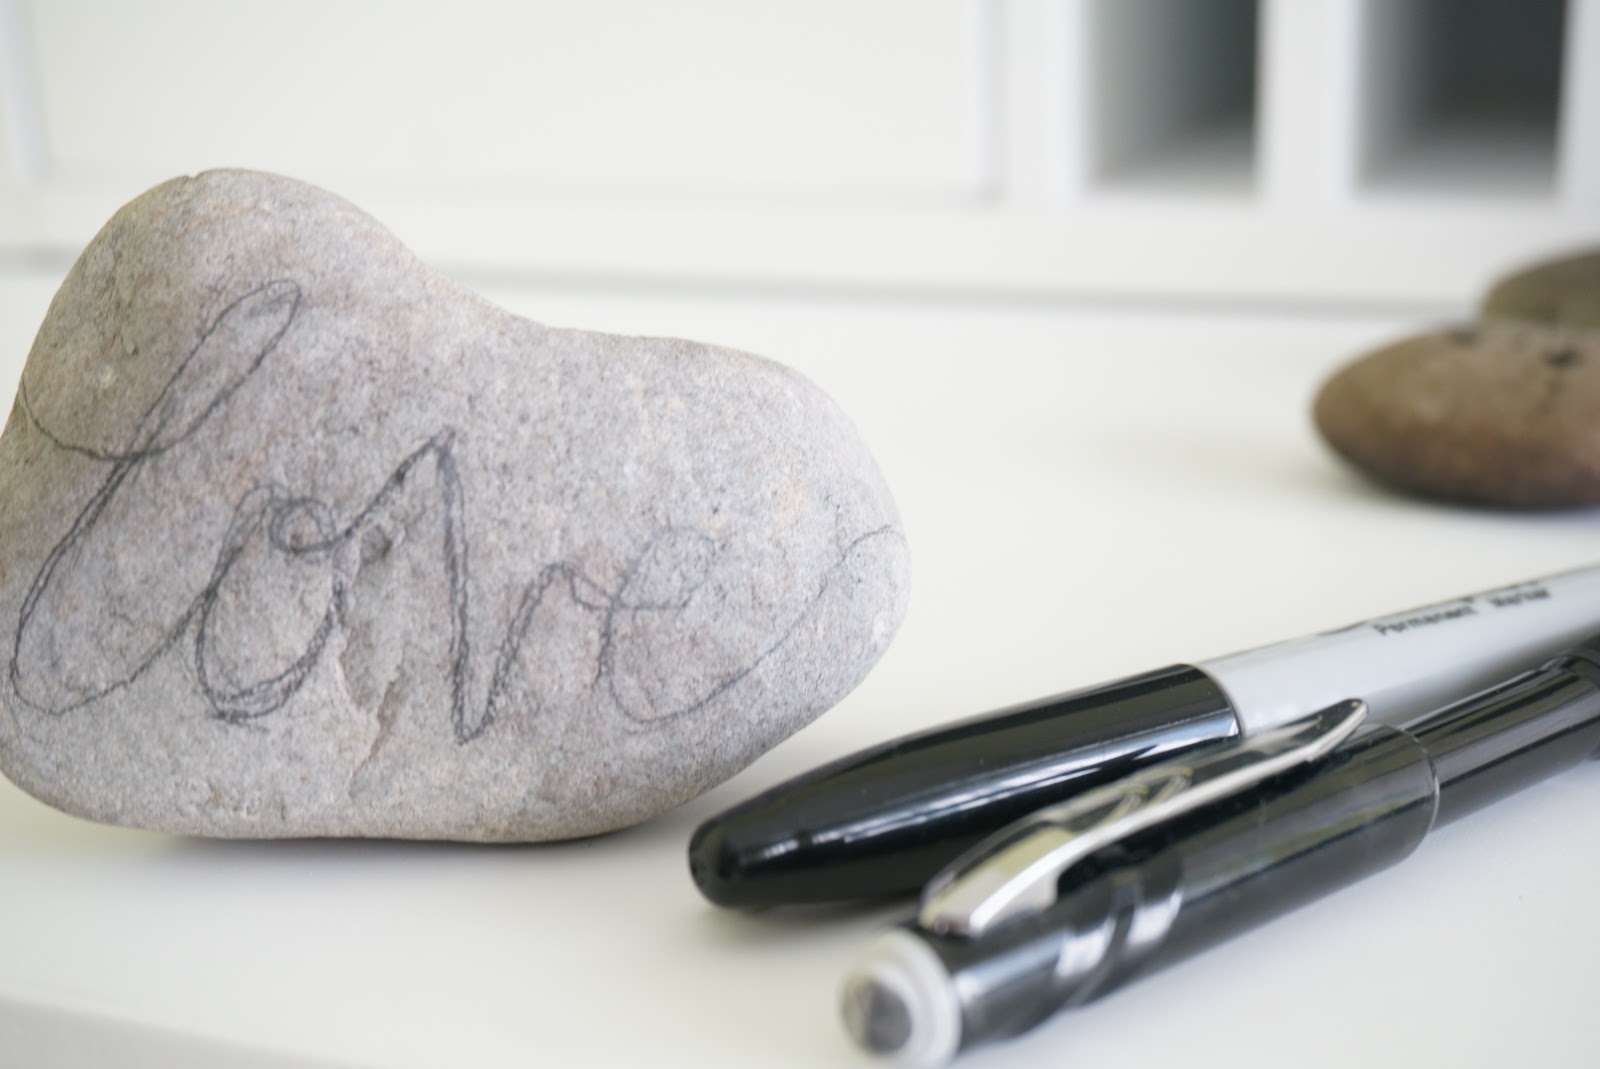 |
| initial pencil sketch, this rock was perfectly shaped for this word ;D |
 |
| Initial marker after first sanding |
 |
| Final marker pass |
 |
| Pencil sketch with initial marker filled in |
 |
| After first sanding |
 |
| Final marker pass |
Thanks foor the post
ReplyDelete