 We all know by now, I'm a sucker for a sad and discarded piece of furniture... especially one that's seen more years than I have, or one that simply has so much potential! Well, this project is just one more example of why I can't let those little treasures go. If you've ever been out shopping for that perfect little accent piece, small bench seat, or foot rest, than you know it's not only difficult to find... it will cost you! In this post I'll show you that you can get that high dollar perfect look for less, with a bit of work and creativity!
First things first, you need to find a piece. I highly recommend thrift shops, goodwill, and yard sales. Craig's list if you're adventurous... Estate sales will sometimes have what you need, but prices may be higher. Flea markets may have a few hidden gems, but if you're hoping to find something quick and without much searching, stick to the thrift shops!
Once you find your perfect piece, get it home and take a few pictures. Identify how it was constructed, and take a few measurements; if there's trim that you want to replace, measure how much you will need, same goes for fabric. Make note of any changes you would like to make in the design and add those items to your shopping list! As you take the piece apart, try to take progress pictures so you can refer to them later if needed... you never know! Also make note of what may need repair or replacement; generally I find that upholstery foam and batting will need to be replaced.


One thing I recommend, at least on your first few projects, is to have an inspiration piece. This is something you can use to base your design on, and leverage when you are trying to make decisions about anything from construction to finishing details. For this piece my inspiration was this $850 piece from overstock.com.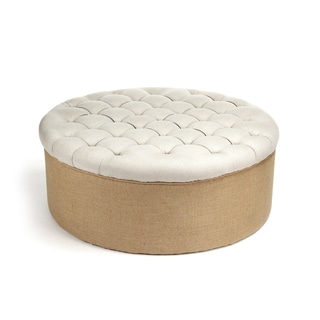
With the new deign figured out, all that's left is to get it done!
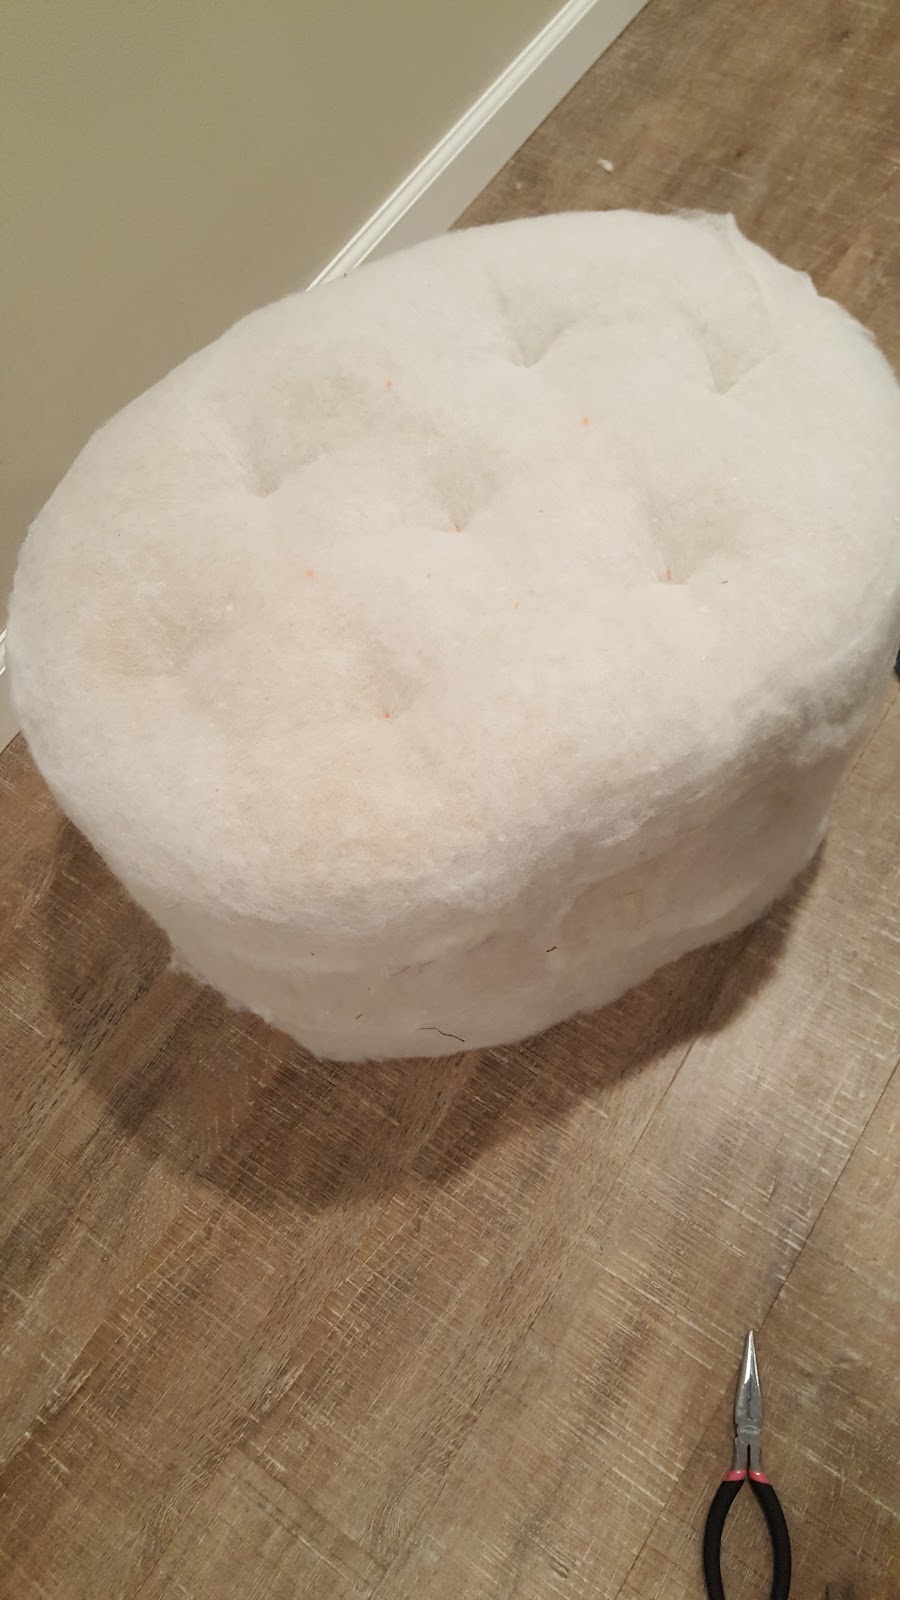
I started by cutting the old fabric down the seam and removing it (pictured above). Then replaced the upholstery foam and batting, adding the burlap fabric and tufts on the top. This takes some measuring and math, but there are lots of tutorials out there if your interested in becoming an expert ;D

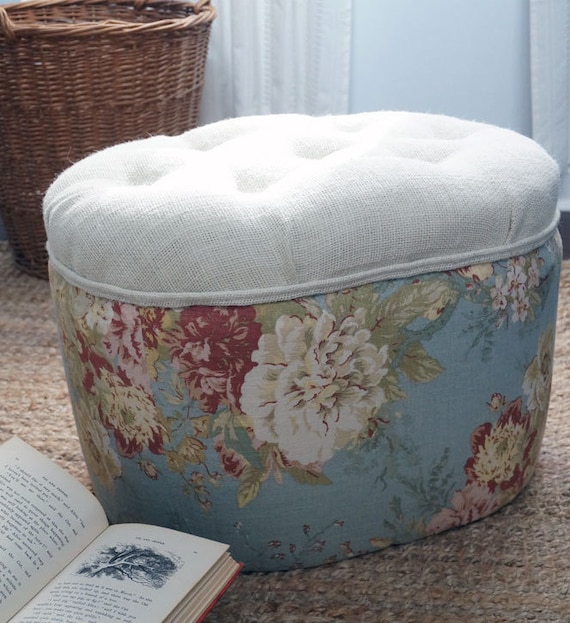
Next,I measured and stitched the seams of my contrasting fabric. This is going around the body of the ottoman. I also added some top-stitching detail just for fun. Added this onto the ottoman and stapled in place. With the double piping in place, this ottoman is almost complete!


The final touch is to add the fabric covered buttons that not only hold the tufts in place permanently, but give us the look we're going for... and for that I did use the help of some special equipment: button machine!
I made the investment in this machine because I do a lot of this work. It allows for the relatively easy creation of loop back/nail back buttons in a few different sizes. If you're not ready to spend $$$ on something like this you have a few options: make the button nails by hand using kits available at most craft stores (Joann's has them), or get them from someone who has this machine! There are a few crafters out there that will take special orders for custom fabric buttons/nails/etc. ... including me, so feel free to convo me if you're interested!


OK, that's all for now; on to the next project! Want to know what it is? Follow me on twitter for sneak peeks and updates! If you're just looking for DIY inspiration, stayed tuned @ dawntoussaint.com for more on my DIY projects through the summer! If you're looking to get some of the items you've seen here, on twitter, or on my boards, check out my etsy shop!
|
| This piece is now available in my etsy shop! |
No comments:
Post a Comment